This teriyaki chicken is a fast and flavorful stir fry ideal for busy weeknights. It features tender chicken pieces glazed in a sweet and savory sauce that beats restaurant takeout.
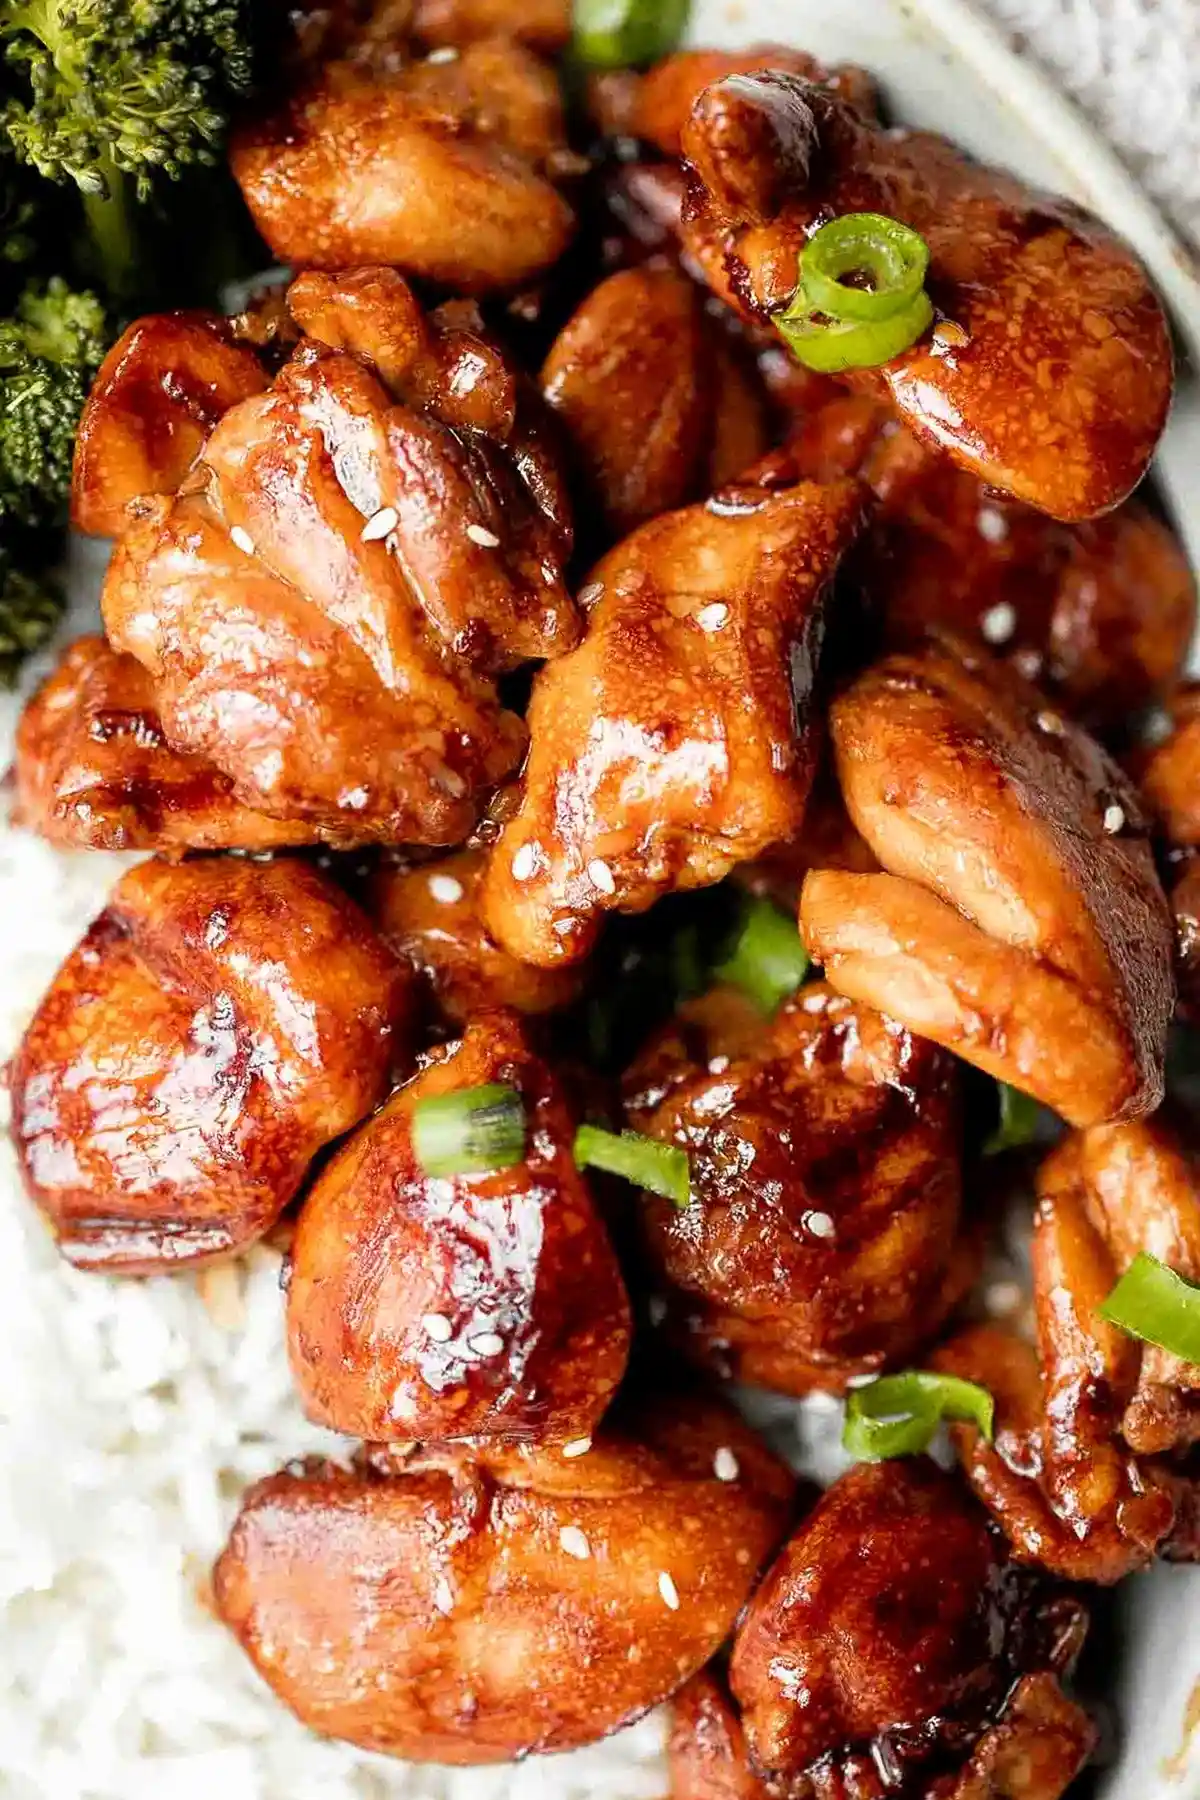
List of ingredients
- 2 pounds chicken breast or chicken thighs, boneless and skinless – cut into bite-sized pieces.
- 1 tablespoon vegetable oil – for searing the meat.
- 1/3 cup soy sauce – the primary salty base for the glaze.
- 1 tablespoon dark soy sauce (optional) – used to achieve a deeper, darker color.
- 1/4 cup brown sugar – provides sweetness and helps the sauce thicken.
- 1 teaspoon fresh ginger, grated – adds a zesty aromatic heat.
- 1 teaspoon garlic, minced – provides a savory depth to the sauce.
- 1 teaspoon sesame oil – adds a distinct toasted nutty flavor.
- 1 tablespoon rice vinegar – provides the necessary acidity to balance the sugar.
- 1/2 tablespoon cornstarch – used as the thickening agent for the glaze.
- 1 teaspoon white sesame seeds (optional) – for texture and garnish.
- 1 tablespoon green onion, finely chopped (optional) – for a fresh finish.
step-by-step instructions
- Prepare the meat: Use a paper towel to pat the chicken completely dry. Cut the chicken into 1.5-inch cubes and set aside on a plate.
- Sear the chicken: Heat oil in a large skillet over medium-high heat until the oil sizzles. Add chicken and sauté until golden brown on all sides, about 5-6 minutes, then drain the excess oil from the pan.
- Mix the glaze: In a small mixing bowl, whisk together soy sauce, brown sugar, ginger, garlic, sesame oil, rice vinegar, and cornstarch until the mixture is smooth.
- Thicken the sauce: Stir in the sauce mixture and toss well to coat the chicken evenly. Continue to cook over medium heat for 3-4 minutes, stirring constantly until the sauce thickens to your desired consistency.
- Garnish and serve: Top with sesame seeds and green onions. Serve warm over a bowl of steamed rice, fried rice, or noodles.
Professional Searing Techniques
Ensure the Meat is Completely Dry
Patting the chicken dry with paper towels is essential for achieving a golden-brown crust. Excess moisture on the surface of the meat creates steam, which prevents the Maillard reaction from occurring. Dry meat sears faster and develops more flavor.
Manage Your Pan Temperature
Wait until the vegetable oil is shimmering or just beginning to smoke before adding the chicken. If the pan is too cold, the meat will boil in its own juices rather than searing. Medium-high heat is the ideal balance for browning the exterior without overcooking the interior.
Avoid Overcrowding the Skillet
Cook the chicken in batches if your skillet is too small. Overcrowding the pan lowers the temperature of the cooking surface and releases too much moisture. This results in grey, steamed meat instead of the desired golden-brown finish.
Choosing the Right Protein
Using Boneless Chicken Thighs
Chicken thighs are more forgiving and remain juicy even after searing and simmering in the sauce. The higher fat content provides a richer flavor and prevents the meat from drying out. Thighs are recommended for those who prefer a more tender texture.
Preparing Chicken Breasts
Chicken breasts provide a leaner protein option and take slightly less time to cook. To avoid toughness, ensure the cubes are uniform in size so they cook evenly. Remove breasts from the heat as soon as they reach the safe internal temperature.
Cutting Consistent Cubes
Aim for 1.5-inch cubes to ensure a consistent cook time across all pieces. Uniform sizes prevent smaller pieces from overcooking while larger pieces remain raw. This consistency is key for a professional stir-fry result.
Integrating Fresh Vegetables
Adding Broccoli Florets
To include broccoli, steam or blanch the florets for 2 minutes before adding them to the pan. Stir them in during the final 3 minutes of cooking when the sauce is thickening. This ensures the broccoli is tender-crisp and fully coated in glaze.
Incorporating Carrots and Peppers
Slice carrots into thin rounds and bell peppers into strips to match the chicken’s cooking time. Sauté them for 3-4 minutes before adding the sauce mixture. If adding a large volume of vegetables, increase the sauce quantity by 50% to maintain the coating.
Using Snap Peas or Snow Peas
Add snap peas at the very end of the cooking process. They only require 1-2 minutes of heat to stay vibrant and crunchy. Tossing them in right before serving keeps their color bright and texture fresh.
Advanced Sauce Modifications
Adjusting the Sweetness Levels
If the sauce is too sweet, add an extra teaspoon of rice vinegar or a splash of water. To increase the sweetness, add another tablespoon of brown sugar. Taste the sauce before the final thickening stage to balance these flavors.
Increasing the Savory Profile
For a deeper savory taste, add a pinch of ground white pepper or a small amount of mushroom powder. You can also increase the amount of minced garlic to enhance the pungent, savory notes of the dish.
Creating a Gluten-Free Version
Replace the standard soy sauce and dark soy sauce with tamari or coconut aminos. These alternatives provide the same salty, umami profile without the gluten. Ensure the cornstarch is certified gluten-free if necessary.
Storage and Food Safety
Proper Cooling Procedures
Allow the teriyaki chicken to cool to room temperature before transferring it to a container. Placing hot food directly into the fridge can raise the internal temperature of the appliance and risk spoilage. Cool the meat within two hours for safety.
Airtight Container Selection
Store the leftovers in a glass or BPA-free plastic airtight container to prevent the sauce from drying out. Glass containers are preferable as they do not absorb the strong smells of ginger and garlic. This helps keep the food fresh for longer.
Maximum Refrigeration Time
Keep the cooked teriyaki chicken in the refrigerator for 3 to 4 days. Beyond this window, the quality of the meat and the thickness of the sauce may degrade. Label your containers with the date of preparation for tracking.
Effective Reheating Strategies
Stovetop Simmering
Place the chicken in a small pan over medium-low heat. Add a tablespoon of water or chicken broth to loosen the thickened glaze. Stir frequently until the meat is heated through and the sauce becomes glossy again.
Microwave Pulse Method
Heat the chicken on medium-low power in 20-second intervals. Stir the meat between each interval to ensure even heat distribution. This prevents the edges from becoming rubbery while the center remains cold.
Avoiding Overheating
Stop reheating as soon as the chicken is warm to the touch. Overheating the sauce can cause the cornstarch to break down, making the glaze watery. Low and slow heat preserves the texture of the protein.
Pressure Cooker Execution
Setting the High Pressure Timing
When using an Instant Pot, combine the chicken and sauce (minus the cornstarch) and cook on manual high pressure for 8 minutes. This method tenderizes the meat quickly while infusing it with the savory flavors of the marinade.
The Sauté Finish for Thickening
After pressure cooking, use the sauté function on high to thicken the sauce. Whisk cornstarch with one tablespoon of water to create a slurry, then stir it into the boiling liquid. Cook for 3-4 minutes until the glaze clings to the meat.
Managing Pressure Release
A natural release for 15 minutes is recommended to keep the chicken tender. If you are short on time, a quick release is acceptable, but the meat may be slightly firmer. Always ensure the steam valve is fully open before opening the lid.
Common Cooking Challenges
Fixing a Thin Sauce
If the sauce hasn’t thickened enough, mix an additional teaspoon of cornstarch with a teaspoon of cold water. Stir this slurry into the simmering sauce and cook for another minute. The heat will activate the cornstarch and thicken the glaze instantly.
Addressing Burnt Glaze
If the sugar in the sauce begins to burn, remove the pan from the heat immediately. Add a splash of water or broth to deglaze the pan and scrape up the browned bits. Lower the heat setting for the remainder of the cooking time.
Managing Too Much Salt
If the sauce tastes overly salty, add a small amount of brown sugar or a squeeze of fresh lime juice. The sweetness or acidity will neutralize the saltiness without ruining the flavor profile. Adding more steamed vegetables can also dilute the salt concentration.
Frequently Asked Questions
Can I use a different sugar?
Yes, honey or maple syrup can be used as a replacement for brown sugar. Honey will result in a stickier glaze, while maple syrup adds a slight woody flavor. Use the same quantity as the brown sugar called for in the recipe.
What is the best rice to serve with this?
Short-grain white rice or jasmine rice are the best choices due to their ability to absorb the sauce. Brown rice is a healthy alternative, though it has a nuttier taste and a firmer texture. Sushi rice provides a pleasant stickiness that complements the glaze.
How do I prevent the chicken from becoming rubbery?
Avoid overcooking the meat during the searing phase. Once the chicken is golden brown, remove it from the heat and only return it to the pan when the sauce is ready. Simmering the meat for too long in the sauce can lead to a rubbery texture.
Can I use dried ginger instead of fresh?
You can use dried ginger, but the flavor is less vibrant. Use 1/4 teaspoon of ground ginger for every 1 teaspoon of fresh grated ginger. For the best taste, fresh ginger is highly recommended.
Is dark soy sauce mandatory?
Dark soy sauce is not mandatory; it is primarily used for aesthetics to give the dish a rich, dark brown color. Regular soy sauce provides the necessary salt and flavor. The dish will taste the same regardless of whether you use dark soy sauce.
Print
Easy Homemade Teriyaki Chicken
- Total Time: 35 minutes
- Yield: 5–6 servings 1x
- Diet: Gluten Free
Description
Teriyaki chicken is a quick easy chicken stir fry that is delicious, flavorful, healthy, and better and faster than takeout. Perfect for busy weeknights.
Ingredients
- 2 pounds chicken breast or chicken thighs, boneless and skinless
- 1 tablespoon vegetable oil
- 1/3 cup soy sauce
- 1 tablespoon dark soy sauce (optional)
- 1/4 cup brown sugar
- 1 teaspoon fresh ginger, grated
- 1 teaspoon garlic, minced
- 1 teaspoon sesame oil
- 1 tablespoon rice vinegar
- 1/2 tablespoon cornstarch
- 1 teaspoon white sesame seeds (optional)
- 1 tablespoon green onion, finely chopped (optional)
Instructions
- Step: Use a paper towel to pat the chicken completely dry. Cut the chicken into a 1.5-inch cubes, and set aside on a plate.
- Step: Heat oil in a large skillet over medium-high heat until the hot oil sizzles, about 1 minute. Add chicken and sauté until golden brown on all sides, about 5-6 minutes. Drain the excess oil from the pan.
- Step: In a small mixing bowl, whisk together soy sauce, sugar, ginger, garlic, sesame oil, rice vinegar, and cornstarch until smooth.
- Step: Stir in the sauce mixture and toss well to coat the chicken evenly. Continue to cook over medium heat for 3-4 minutes until thickened to a desired consistency, stirring constantly.
- Step: Garnish with sesame seeds and green onions and serve warm over a bowl of steamed rice, fried rice, or noodles.
Notes
Customize by adding broccoli, mushrooms, or carrots (double the sauce if adding many vegetables). Store in an airtight container in the fridge for up to 3-4 days. Reheat on the stovetop over medium-low heat or in the microwave in 20-second intervals.
- Prep Time: 10 minutes
- Cook Time: 15 minutes
- Category: Chicken
- Method: Stovetop
- Cuisine: Asian
Nutrition
- Serving Size: 1 serving
- Calories: 340 kcal
- Sugar: 16 g
- Sodium: 820 mg
- Fat: 9 g
- Saturated Fat: 2 g
- Unsaturated Fat: 7 g
- Trans Fat: 0 g
- Carbohydrates: 18 g
- Fiber: 1 g
- Protein: 36 g
- Cholesterol: 85 mg